

Installing a Glass Bed on the Creator Pro
I finally bought a glass bed for my Creator-Pro 3D printer after destroying the last of the plastic bed sheets that were supplied with the machine. Unfortunately I was cutting them with my tools whilst trying to remove prints from the bed, usually when I’m a bit over eager.
I have read up about glass beds a fair bit in the past and knew they would probably perform better but I do think the plastic sheets supplied from Flash Forge were actually pretty good. It’s good to try other things out though and the general consensus I got was to go for glass.
Buying the Glass
A lot of people suggest that standard glass will work fine and there is no need to go for the Borosilicate type which has higher temperature thresholds and can deal with the heat cycles we will put through it.
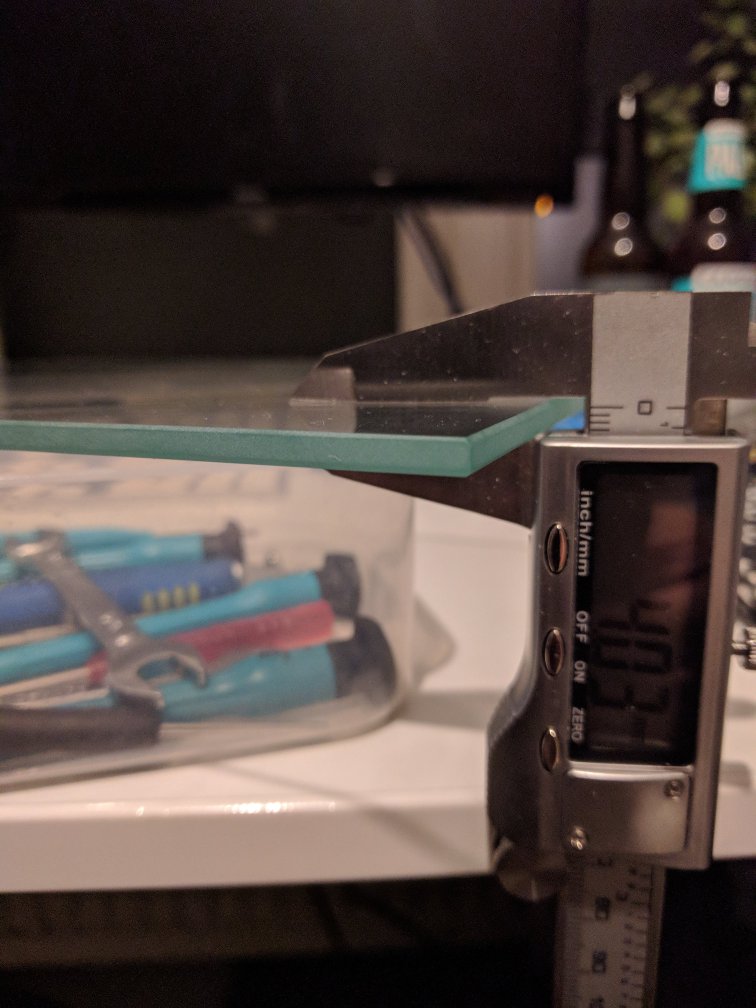
I decided to pay a bit more first time round to hopefully rule out any other issues that might arise from using standard glass. I ended up buying this 4mm replacement borosilicate glass bed which cost me about £30 including taxes shipping (signed-for). It does seem a lot for a small bit of glass but next time I should feel more comfortable trying cheaper options out.
Installing
Just whacking the glass on the top of the Creator Pro’s bed is not enough, it must be secured in place to avoid any jiggling around whilst printing.
There are many solutions to this. When I first read up on this topic a year or so ago it seemed most people were using clips to holds the glass, but now it appears things have moved on a little and there are various printable products that can do the job. Luckily I still had some space on my original plastic bed to print out what I needed.
- First up were the glass brackets which I found on Thingiverse. These printed well first time and were easy to attach.
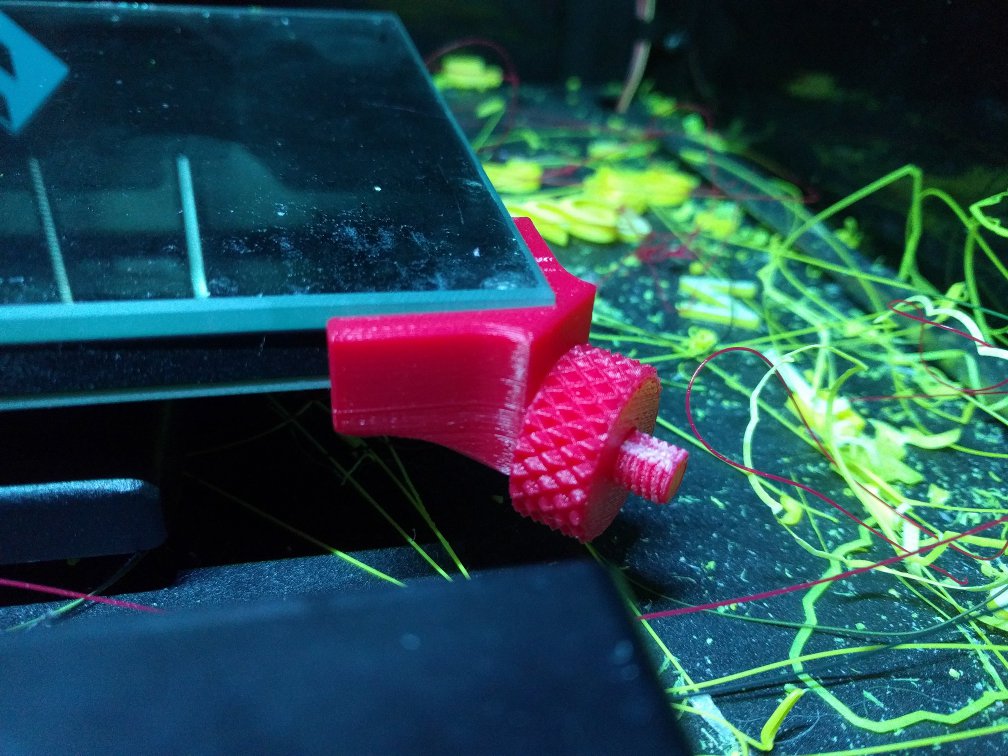
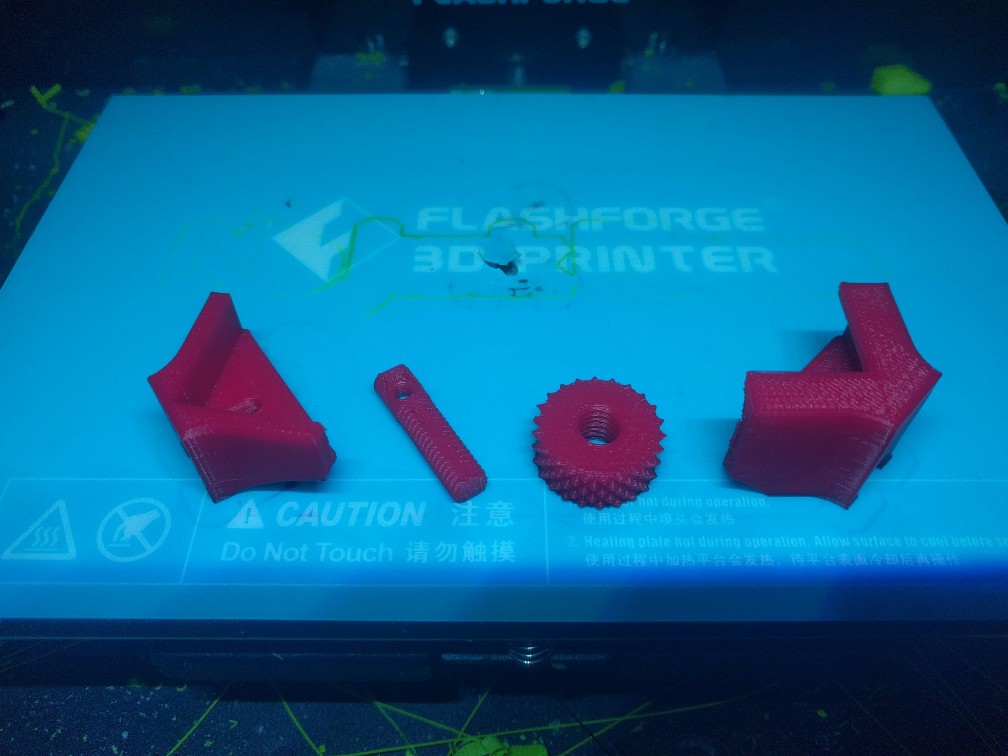
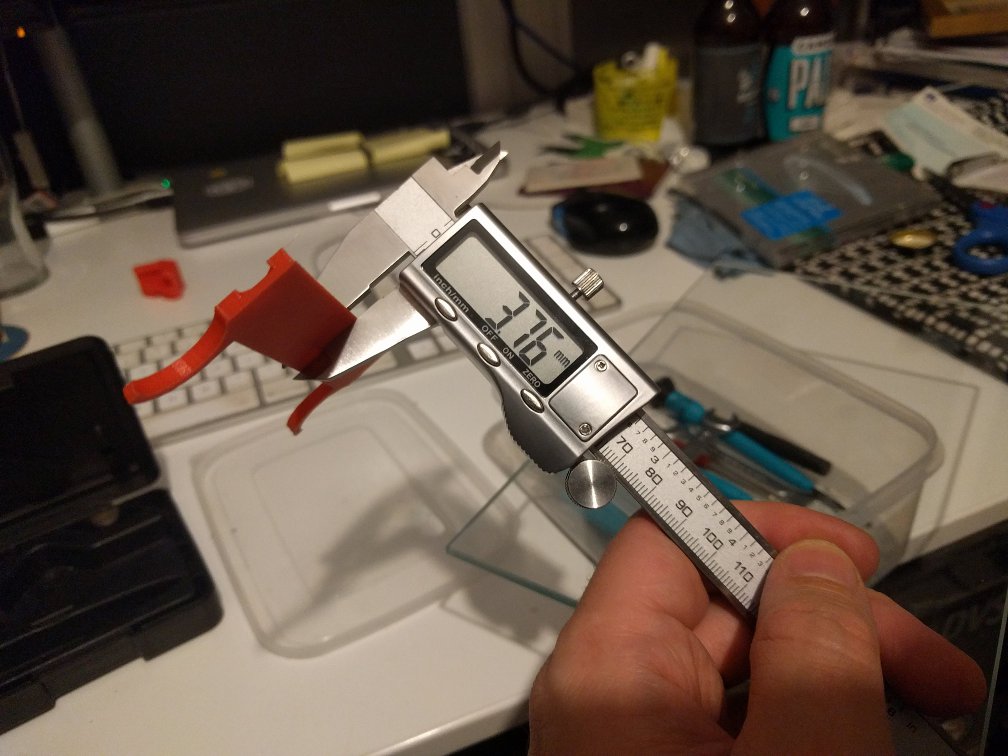
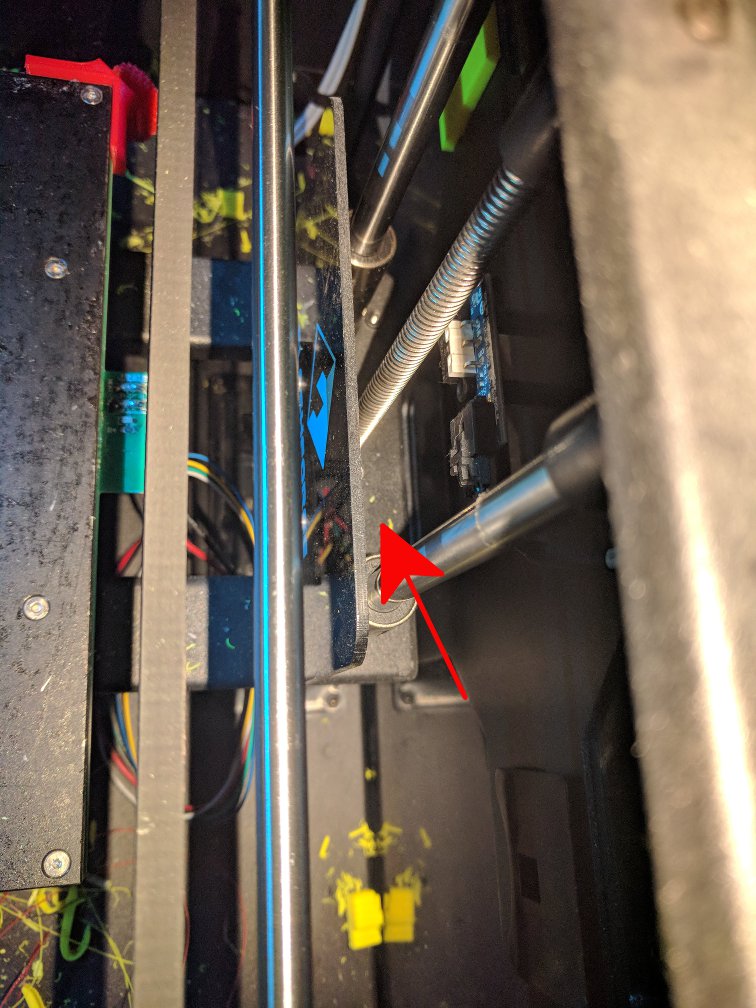
- Then I also needed a shim to make sure the printer knows the bed is a little higher than usual, due of course, to the extra thickness of the glass. Placing this shim on top of the horizontal plate behind the Flash Forge logo decreases the height at which the z-axis limiter is triggered, stopping the printer nozzles from being pushed in to the bed.
It was pretty quick to print and install these parts. I used some PLA that I got with the machine as it’s pretty hard wearing.
Results
I’ve tried printing a few items now and am still to find the best settings for PLA. Currently I am printing a circular coaster for a Christmas present and it’s going well, only a small amount of warping on the first layer.
My first attempts had a lot of warping where it looked all kind of mushy. This, I think, was due to the PLA cooling and raising off the bed. I slowed down the print speed of the first layer and also reduced the bed temp from 70° to 60° which seems to have reduced this problem a great deal. Not perfect yet though.
Drop me a comment if you have any tips! :)
Leave a comment