
Downgrading macOS with a broken screen
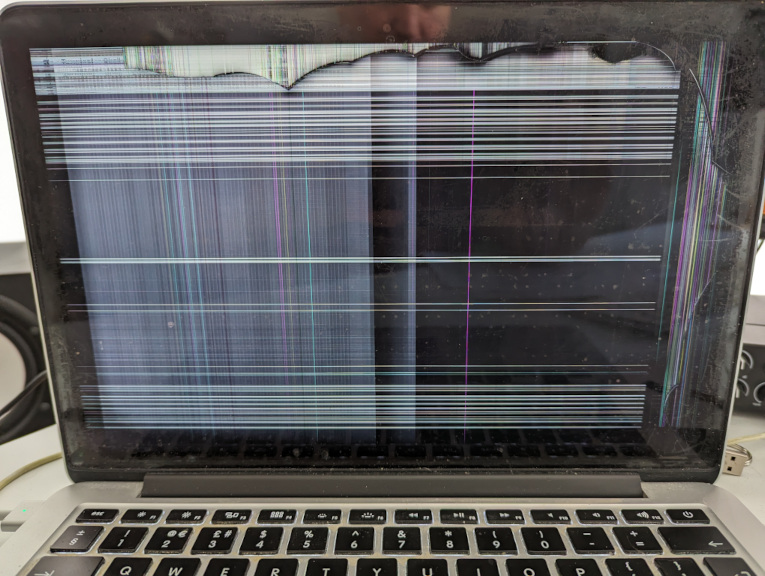
Recently, my trusty Macbook Pro (2015) fell off a low bed and the screen broke. Not the first fall it’s had over the last 9 and a bit years, but I was dismayed to see the end result this time around.
I use my laptop for all sorts of things, including music production, and decided to get a new one. The broken laptop would still work fine as a desktop machine though and I have some old hardware that I had to stop using due to support ending after High Sierra version of macOS. So, I decided to downgrade MacOS to High Sierra and keep the laptop as a music making machine, enabling me to get my old Saffire Pro 10 soundcard back in use.
This blog post just outlines the steps I took, some of the problems I had, and the solutions I found. It’s not an exact walkthrough though.
Installation process
Ideally I would just use my Time Machine backups to revert the OS back to High Sierra, that would have been the most straight forward option. Alas, my backups do not go that far back.
Having experience installing various flavours of Linux using bootable USBs, I discovered that this was an option here and decided to go with it. This means erasing my laptop drive and losing all my data, however I have everything backed up in Time Machine and on other backup drives.
Preparing the installer
You can download old macOS versions here, going back to Lion 10.7 (at the time of writing).
I used the App Store link which downloads the installer image and tries to execute it straight away. It will fail however and tell you that your version of macOS is too new to continue. This is fine, you should just quit the installer.
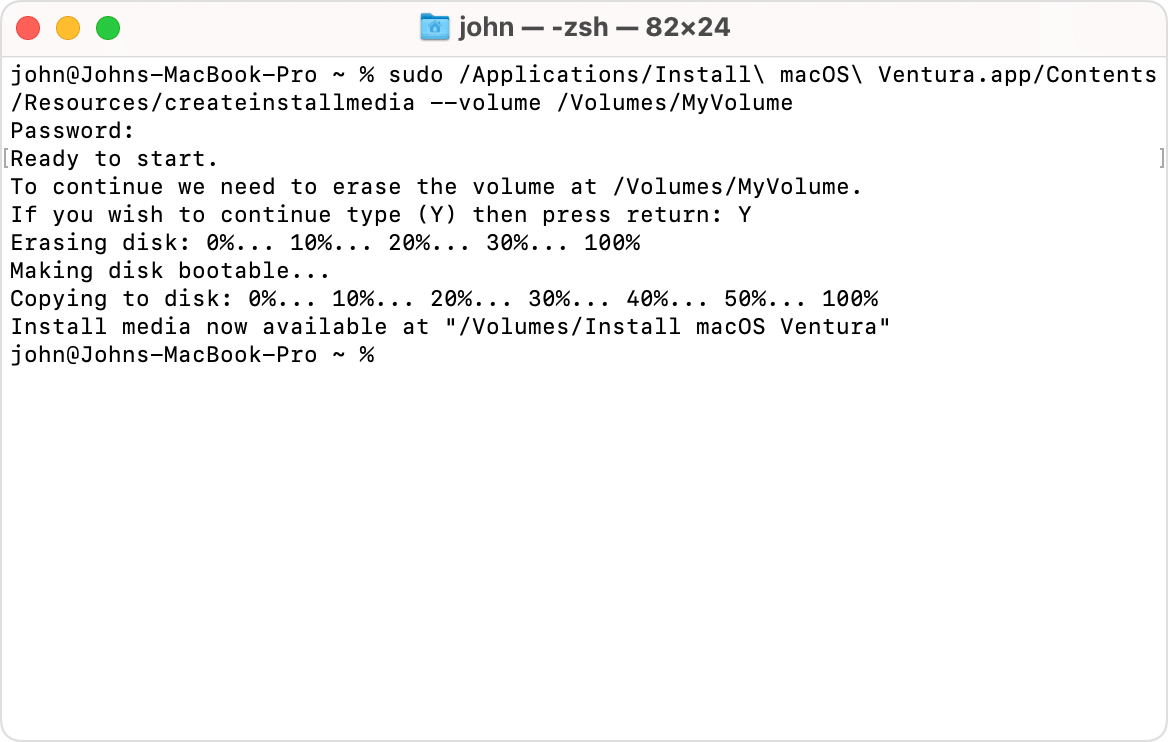
Instead, you can create a bootable USB drive using the createinstallmedia tool available as part of the installer image you just downloaded. You can find instructions to do that here.
Booting Macbook Pro to an external monitor
As the title of this post indicates, I broke my laptop screen and so when booting the system I need it to appear on my external monitor. This was a tricky problem to solve. After hours of reading through forums and help guides online, I discovered this post which tells us that we just need to:
“close the top of the computer as soon as you power on the laptop in order to cause the Apple drivers to default to the external monitor”
This DOES WORK, so if you’re having trouble then try those simple instructions. Just press the power button and then close the lid. After 5 seconds or so the external monitor will be activated.
You can hold down the alt/option key on your USB keyboard after closing the lid to enter boot mode, there’s no need to use the laptop’s keyboard to do this.
Installing MacOS
Once you get the external monitor problem sussed, you can go ahead and install macos from your USB. This involves:
- Press power button to switch laptop on
- Close lid (if you have a broken screen)
- Hold the
alt/optionbutton to get the boot menu,allowing you to select the USB installer - Select the Disk Utility app within the installer
- Erasing the partition you plan to install macOS upon (help instructions here)
- Quik Disk Utility
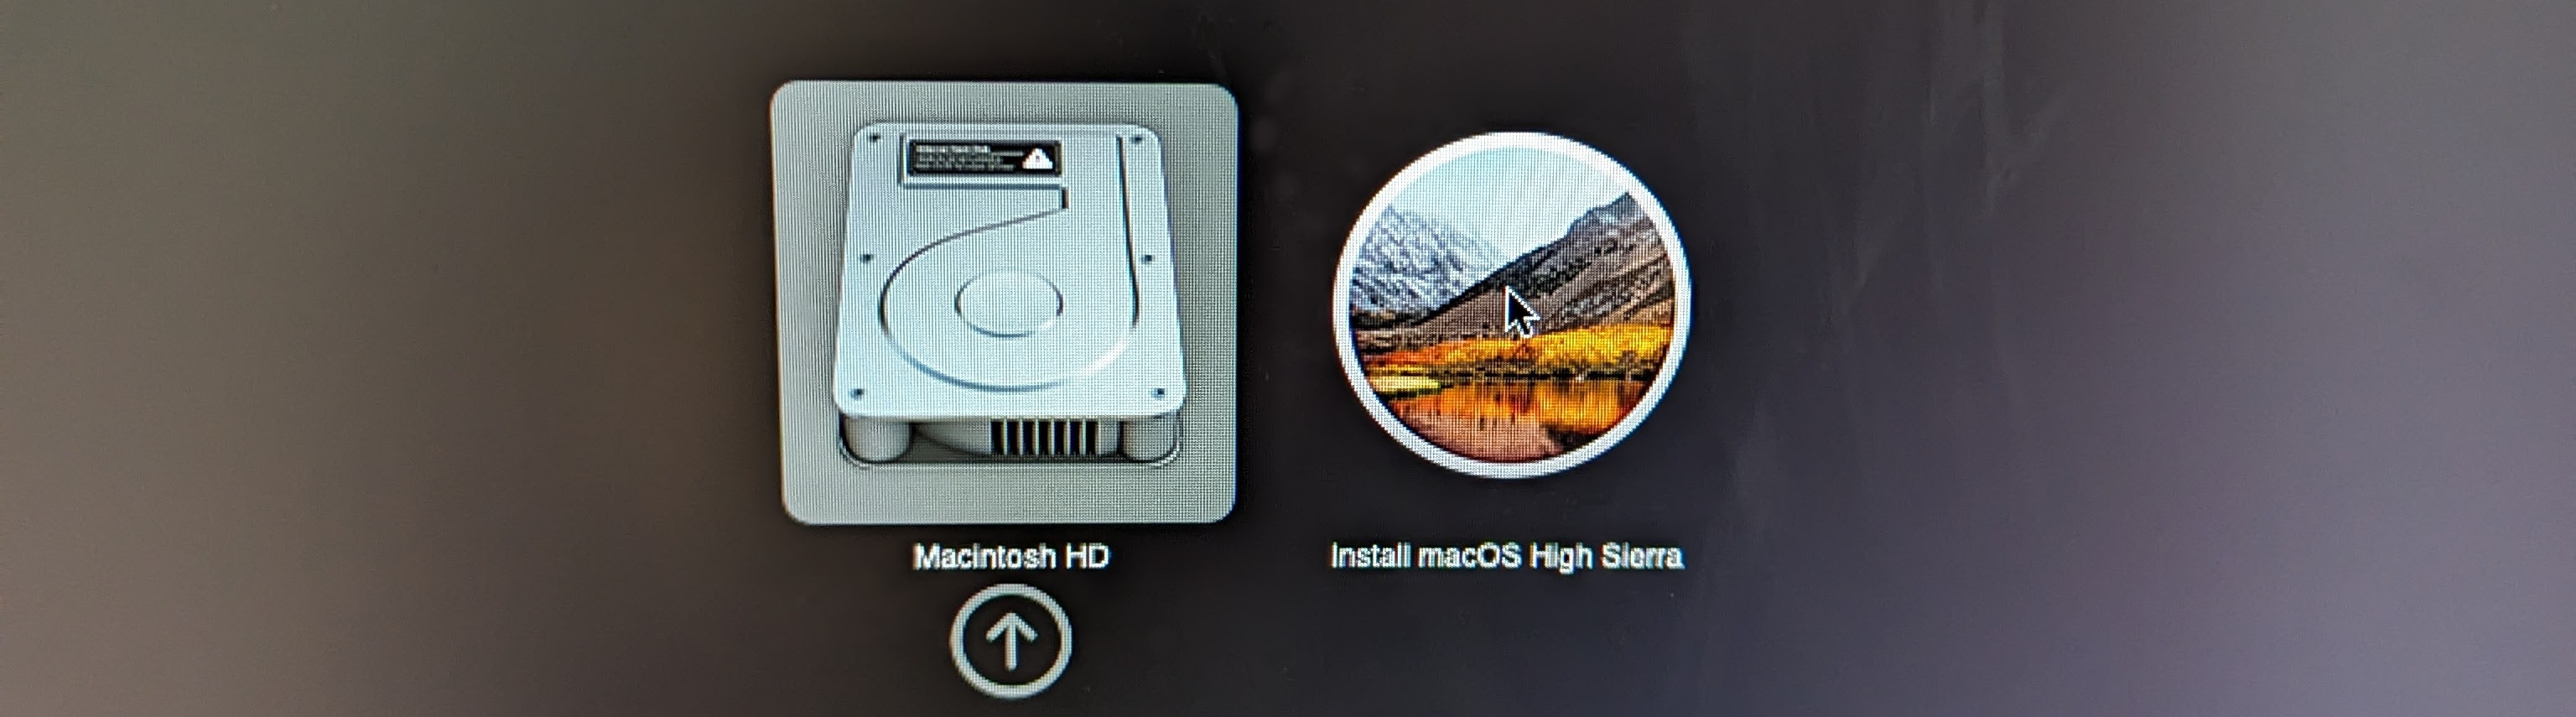
- Select the Install macOS option
In my case I just erased the Macintosh HD and Update partitions that I saw on my HD. After installing macOS I thought I was done, but I started seeing a growl message stating:
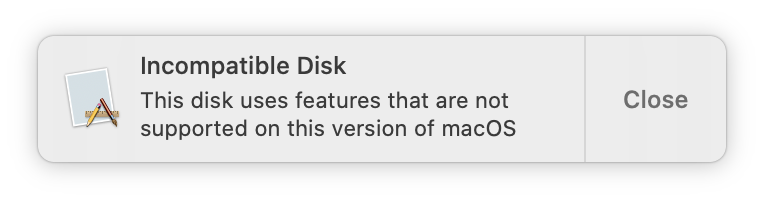
Solving the drive incompatibility problem
The problem here seems to be that the way the disk is partitioned and the format used. After reading a post, for High Sierra it looks like I need to create ‘Mac OS Extended’ partition rather than an ‘APFS’ but Disk Utility didn’t give me that option?
I decided to just wipe the disk completely so I could create new partitions, hoping that the option to create the right parition system might show up. This post in the support forums helped me decide that this was an option I could try.
!!! BE CAREFUL using dd, make sure you know which drive you are erasing !!!.
First I used the diskutil command to identify the name of the disk I wanted to erase, for me it was /dev/disk0
Then I unmounted and ran the dd command to wipe my driveas shown below. If you copy these commands then replace diskX with the name of your disk.
diskutil list
diskutil unmountDisk /dev/diskX
dd if=/dev/zero of=/dev/diskX bs=10m
sync
The dd process takes some time, roughly an hour for IIRC. My HD was 500GB so YMMV. Once it completed, I exited the terminal and followed the previous steps to format my drive. This time around I saw the correct options available, as shown in the image below:
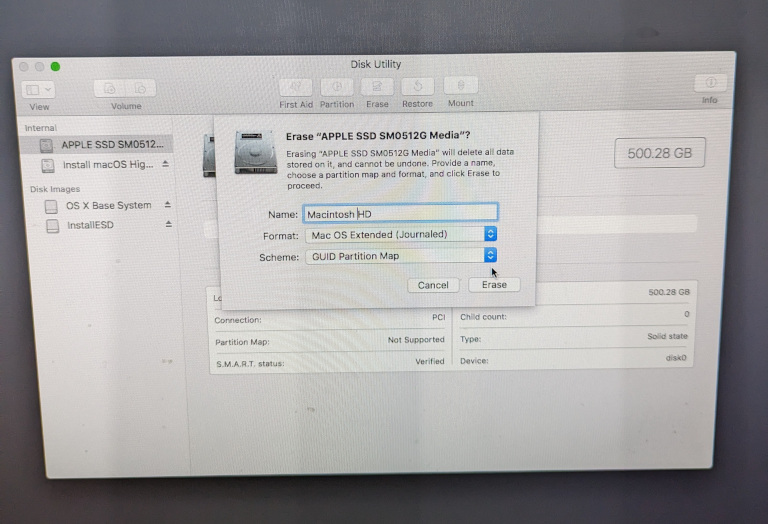
Using the correct ‘Mac OS Extended’ format and the GUID partition scheme, once I reinstalled macOS High Sierra again I was relieved to NOT see the warning about incompatible drive.
Celebrate
Party time, we made it. Probably not that many people need to do this procedure but it helped me out and who knows if I’ll need to do something similar in the future.
Leave a comment